STEM-In-Action Grant Spring Scoop: River Revivers
Our STEM-In-Action Grant winning teams have been hard at work for the past year advancing their eCYBERMISSION projects to make a difference in their communities. If you're new to the eCYBERMISSION blog, the Army Educational Outreach Program (AEOP) awards STEM-In-Action Grants of up to $5,000 to eCYBERMISSION teams that wish to further develop and implement their projects in their communities. We're checking back in with this year's STEM-In-Action Grant teams to get the inside scoop on their project process. First up, North Carolina team, River Revivers.
_____________________________________
Hello! We are the River Revivers from Charlotte, NC, working to reduce E. coli contamination in the Catawba River. The Catawba River is a local body of water containing high traces of harmful bacteria which is harmful to marine life. Sadly, local businesses based near or on the Catawba River have started suffering due to the lack of people coming to take their services, since most are afraid of being near water with such high bacterial levels. Our solution utilizes the power of Ultraviolet light, which can eliminate E. coli bacteria by terminating through cells and basically negating their ability to reproduce, eventually making them die out over time. Our plan is to attach a UV light to the bottom of a small boat made out of wood, as well as some waterproof UV LED strip lights surrounding the model. Regarding the dimensions for more of a visual, one prototype’s length will be around 1½ feet in length, and ½ - 1 feet in length. We also plan to cut the end of the wooden boat in a triangular shape inward so that the model has high buoyancy force.
This is a picture of our previous prototype:

With the money we received thanks to the eCYBERMISSION STEM-In-Action Grant, we plan to make 5 identical prototypes to use over the summer for each basin, so that eventually we can disinfect the river to the point where aquatic life is no longer at risk, and people can enjoy their time at the river and business will return to the area. We’ve also ensured that at a 360 nanometer range, pathogens will be eliminated at the very surface of the water. There is also a huge technological aspect of this project. After all, we can’t just have 5 non - powered boats ineffectively attempting to disinfect the river. We want to complete this project most efficiently and methodically to ensure we don’t take up too much time, so we can get our prototype in the water as soon as possible.
We will use an Arduino (specifically Raspberry Pi, programmed by python code) to help operate the different parts of our project. Arduino is an open-source hardware and software company, project, and user community that designs and manufactures single-board microcontrollers and microcontroller kits for building digital devices. This is perfect for designing our prototype because one prototype needs to contain 2 motors for effective and methodical movement, a GPS tracker that can tell us where our prototype is if it’s not in plain sight, and 5 sensors on the front, back, left and right sides of the prototype, as well as one under the prototype, for proper docking abilities and collision avoidance. Each of these things need to be synced up and programmed to coordinate with each other, for example, the sensors will not work if the motors do not react to an object in front of it, and if the motor cannot receive information from the GPS, then it will not have the knowledge to self dock itself where it needs to be.
The wiring for the actual prototype will be encased inside of the actual prototype itself to ensure that water does not enter the wiring box and cause a malfunction, and we plan to put a plastic lid on top of it with a hinge that allows the lid to open like a door would. However, just in case water does enter the wiring depression, most of the parts will be waterproof to small amounts of water that enter the wiring depression, and, in the unfortunate case that the entire prototype sinks, which we ensure will not happen because of many tests we will run, the circuitry of the prototype is easily replaceable. The motors will be connected to an Interface L298N Motor Driver Module, which is an electronic circuit that switches the polarity of a voltage applied to a load, via jump DuPont wires.
The Interface L298N Motor Driver Module will have six different outputs (control pins):
The Interface L298N Motor Driver Module includes four terminals as well which will provide the legitimate connection to each motor. The terminals are as follows:
For the sensors, it’s as easy as connecting the 2 terminal wires from each of the five sensors to the breadboard, and the sensors are connected as well! For the Voltage Power Connection, it is the same matter, connecting the two wires to each terminal connection. This is especially important because it powers all of the circuitry itself. The batteries in this battery holder will be replaced whenever needed.
For the Arduino’s connection, however, this will work a bit differently. Arduinos don’t have terminal connections, but rather are required to initiate the ANALOG IN setting to input such wiring and program. To do this, we need to connect six more stranded 22 AWG jumper wires into the into the following six terminals of the Arduino:
This is a sketch of the circuit diagram that we drew:

Projected interior design of the circuitry:
_____________________________________
Hello! We are the River Revivers from Charlotte, NC, working to reduce E. coli contamination in the Catawba River. The Catawba River is a local body of water containing high traces of harmful bacteria which is harmful to marine life. Sadly, local businesses based near or on the Catawba River have started suffering due to the lack of people coming to take their services, since most are afraid of being near water with such high bacterial levels. Our solution utilizes the power of Ultraviolet light, which can eliminate E. coli bacteria by terminating through cells and basically negating their ability to reproduce, eventually making them die out over time. Our plan is to attach a UV light to the bottom of a small boat made out of wood, as well as some waterproof UV LED strip lights surrounding the model. Regarding the dimensions for more of a visual, one prototype’s length will be around 1½ feet in length, and ½ - 1 feet in length. We also plan to cut the end of the wooden boat in a triangular shape inward so that the model has high buoyancy force.
This is a picture of our previous prototype:
With the money we received thanks to the eCYBERMISSION STEM-In-Action Grant, we plan to make 5 identical prototypes to use over the summer for each basin, so that eventually we can disinfect the river to the point where aquatic life is no longer at risk, and people can enjoy their time at the river and business will return to the area. We’ve also ensured that at a 360 nanometer range, pathogens will be eliminated at the very surface of the water. There is also a huge technological aspect of this project. After all, we can’t just have 5 non - powered boats ineffectively attempting to disinfect the river. We want to complete this project most efficiently and methodically to ensure we don’t take up too much time, so we can get our prototype in the water as soon as possible.
We will use an Arduino (specifically Raspberry Pi, programmed by python code) to help operate the different parts of our project. Arduino is an open-source hardware and software company, project, and user community that designs and manufactures single-board microcontrollers and microcontroller kits for building digital devices. This is perfect for designing our prototype because one prototype needs to contain 2 motors for effective and methodical movement, a GPS tracker that can tell us where our prototype is if it’s not in plain sight, and 5 sensors on the front, back, left and right sides of the prototype, as well as one under the prototype, for proper docking abilities and collision avoidance. Each of these things need to be synced up and programmed to coordinate with each other, for example, the sensors will not work if the motors do not react to an object in front of it, and if the motor cannot receive information from the GPS, then it will not have the knowledge to self dock itself where it needs to be.
The wiring for the actual prototype will be encased inside of the actual prototype itself to ensure that water does not enter the wiring box and cause a malfunction, and we plan to put a plastic lid on top of it with a hinge that allows the lid to open like a door would. However, just in case water does enter the wiring depression, most of the parts will be waterproof to small amounts of water that enter the wiring depression, and, in the unfortunate case that the entire prototype sinks, which we ensure will not happen because of many tests we will run, the circuitry of the prototype is easily replaceable. The motors will be connected to an Interface L298N Motor Driver Module, which is an electronic circuit that switches the polarity of a voltage applied to a load, via jump DuPont wires.
The Interface L298N Motor Driver Module will have six different outputs (control pins):
- ENB
- IN4
- IN3
- IN2
- IN1
- ENA
The Interface L298N Motor Driver Module includes four terminals as well which will provide the legitimate connection to each motor. The terminals are as follows:
- OUT1
- OUT2
- OUT3
- OUT4
For the sensors, it’s as easy as connecting the 2 terminal wires from each of the five sensors to the breadboard, and the sensors are connected as well! For the Voltage Power Connection, it is the same matter, connecting the two wires to each terminal connection. This is especially important because it powers all of the circuitry itself. The batteries in this battery holder will be replaced whenever needed.
For the Arduino’s connection, however, this will work a bit differently. Arduinos don’t have terminal connections, but rather are required to initiate the ANALOG IN setting to input such wiring and program. To do this, we need to connect six more stranded 22 AWG jumper wires into the into the following six terminals of the Arduino:
- Analog Pin 0
- Analog Pin 1
- Analog Pin 2
- Analog Pin 3
- (I2C) SDA
- (I2C) SCL
This is a sketch of the circuit diagram that we drew:
Projected interior design of the circuitry:
So far, we have purchased the wood and the items we need to buy for the circuitry. Gathering the materials took a while, since we had to adjust our original sketch to the dimensions that the wood we bought had. In our local Home Depot, we found the perfect pieces of wood to properly build our prototype. Finally, we started making sketches on the wood with all the correct measurements that we would need for the wood cutting. For the circuitry, not much has been done, since we have had to focus mostly on building the actual prototype rather than to assemble the circuits, breadboard, trackers, etc. However, we have been able to get every piece needed to have our prototype function properly, so the day we finish our exterior, we have all materials ready to start phase 2: Circuitry and Circuit Building.

The Design and Dimensions of the Prototype:
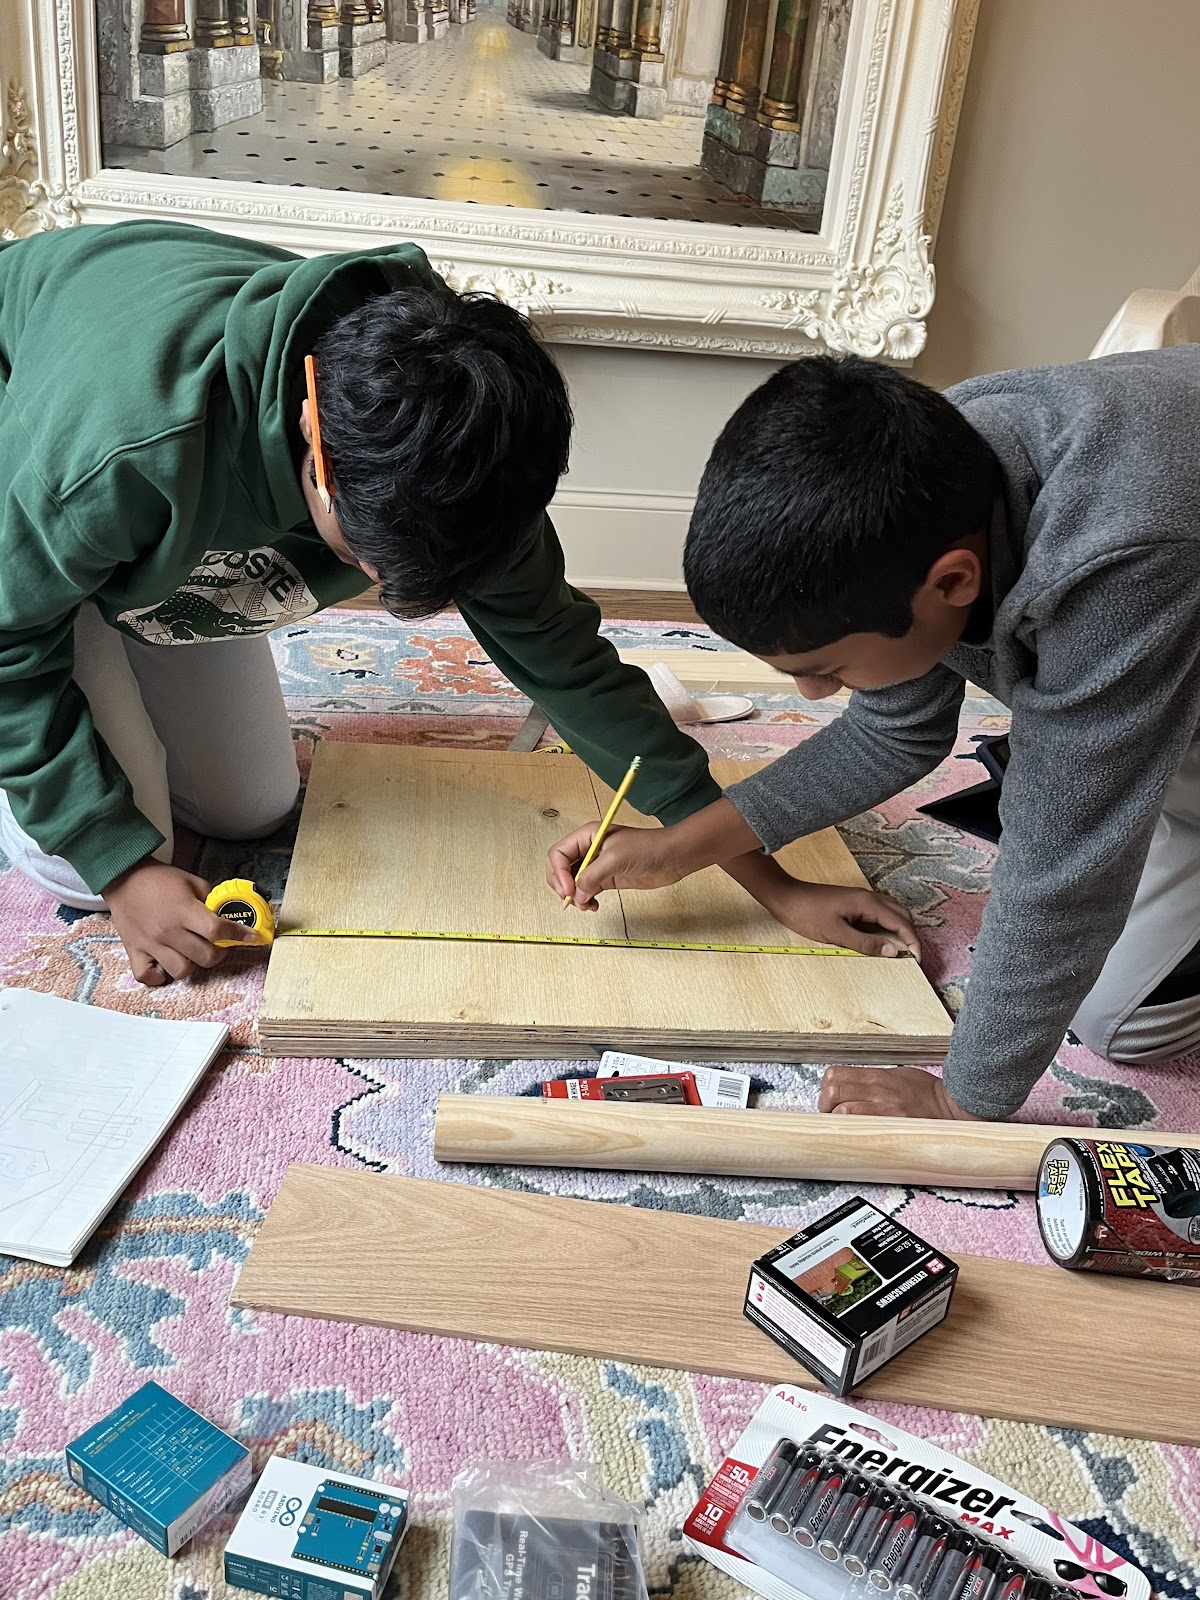
Pictured Here: Rishi Mishra (left), Milan Mishra (right), Ramya Puttagunta (not in the picture)
Our next steps are to plan to meet with the Catawba RiverKeepers, the non-profit organization who is helping us, to run some tests on the river’s E. coli levels, and put our 5 prototypes in a tub of river water, simulating a body of water where we might have run some tests on. You may ask, “Why wouldn’t you test your prototype in the Catawba River?” First of all, our prototype is in its early stages of development, meaning that the prototype could have some problems out in the open water. Second of all, our prototype runs the full risk of eliminating a whole ecosystem when in the water, since ultraviolet rays’ properties are known to break up organisms' cell structures, whether they be good or bad. This would be terrible, because the damage to the river would be irreversible, possibly disrupting the whole Charlotte ecosystem.
Our methodical plan to purify the Catawba River, when we finally get a properly working, safe prototype is to place multiple in the many basins; an example being the South Fork Basin, where the Catawba River Keepers are stationed. This plan would come into play if we had enough funds; having enough funds would mean we could effectively get our prototypes into the Catawba River by late 2024! Not to mention that going off of our plan, we found another theoretical, cost-effective way that we could clean the lakes. Our team came up with the idea of buying remote controlled boats, and attaching waterproof LED UV lights on it. Since RC boats are man-operated, we came up with the idea of having volunteering sessions, since we knew kids (our target audience) especially love to race RC cars and boats. We hope to continue working with the River Revivers idea to help purify and make our river safe for man-kind!
The Design and Dimensions of the Prototype:
Pictured Here: Rishi Mishra (left), Milan Mishra (right), Ramya Puttagunta (not in the picture)
Our next steps are to plan to meet with the Catawba RiverKeepers, the non-profit organization who is helping us, to run some tests on the river’s E. coli levels, and put our 5 prototypes in a tub of river water, simulating a body of water where we might have run some tests on. You may ask, “Why wouldn’t you test your prototype in the Catawba River?” First of all, our prototype is in its early stages of development, meaning that the prototype could have some problems out in the open water. Second of all, our prototype runs the full risk of eliminating a whole ecosystem when in the water, since ultraviolet rays’ properties are known to break up organisms' cell structures, whether they be good or bad. This would be terrible, because the damage to the river would be irreversible, possibly disrupting the whole Charlotte ecosystem.
Our methodical plan to purify the Catawba River, when we finally get a properly working, safe prototype is to place multiple in the many basins; an example being the South Fork Basin, where the Catawba River Keepers are stationed. This plan would come into play if we had enough funds; having enough funds would mean we could effectively get our prototypes into the Catawba River by late 2024! Not to mention that going off of our plan, we found another theoretical, cost-effective way that we could clean the lakes. Our team came up with the idea of buying remote controlled boats, and attaching waterproof LED UV lights on it. Since RC boats are man-operated, we came up with the idea of having volunteering sessions, since we knew kids (our target audience) especially love to race RC cars and boats. We hope to continue working with the River Revivers idea to help purify and make our river safe for man-kind!
_____________________________________
All we can say is WOW! Team River Revivers is putting their minds, and their STEM-In-Action Grant, to great use. We are so impressed by how they are expanding their technical knowledge to create not one, but five, prototypes to clear harmful bacteria from their local Catawba River. Amazing job, team!
Faith Benner
Senior Communications and Marketing Specialist


Comments
Post a Comment
We welcome your comments and expect that our conversation will follow the general rules of respectful civil discourse. This is a moderated blog, and we will only post comments from bloggers over 13 years of age that relate to eCYBERMISSION. We will review comments for posting within one business day. Bloggers are fully responsible for everything that they submit in their comments, and all posted comments are in the public domain. We do not discriminate against any views, but we reserve the right not to post comments.